When it comes to ring carving, most of the focus goes into shaping the design. But what really sets a piece apart is the finishing.
A well-finished ring doesn’t just look better, it feels better to wear. It catches the light differently, sits more comfortably on the hand, and elevates your design from something handmade to something truly refined.
If you’re learning how to carve a ring at home, understanding the finishing process is what will take your piece to the next level.

Basic vs Better: What’s the difference?
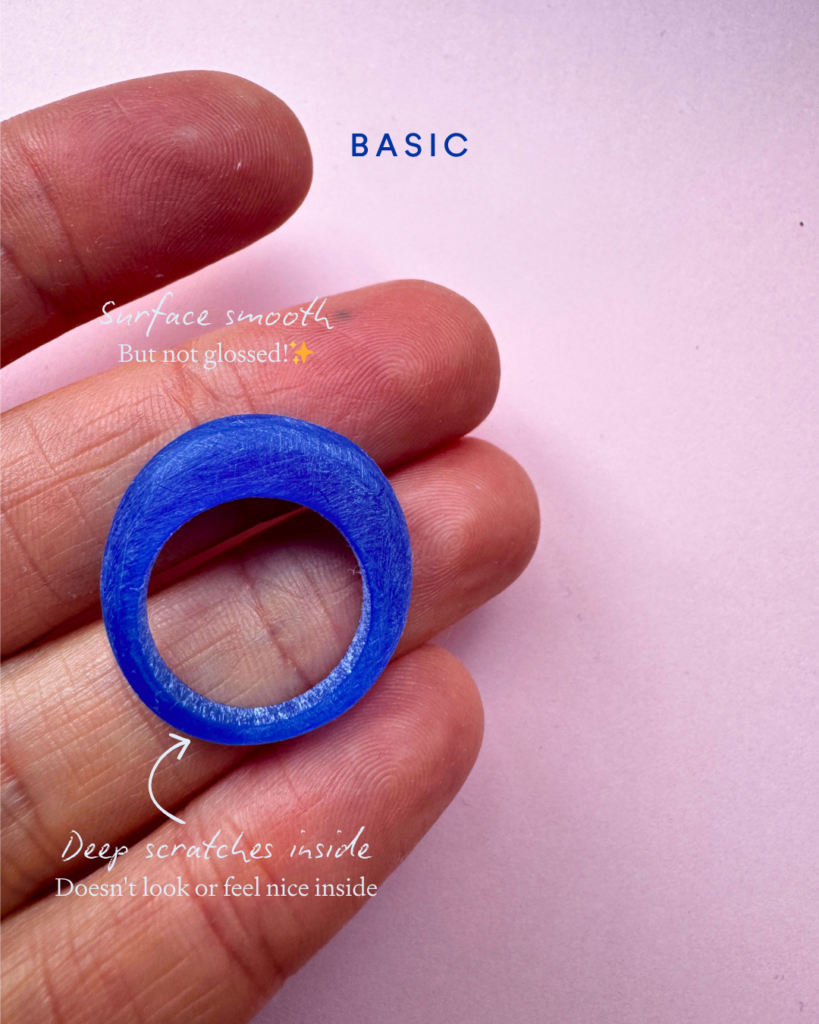
Basic finish
Surface looks smooth. Deep scratches remain inside the band. Not fully glossed.
At first glance, a ring like this might feel complete. The shape is there, the design works, but when you look closer or wear it, the difference is clear.
The inside of the band can feel rough against the skin. Fine scratches from sanding are still visible, and the surface lacks that high-shine finish that brings the piece to life.
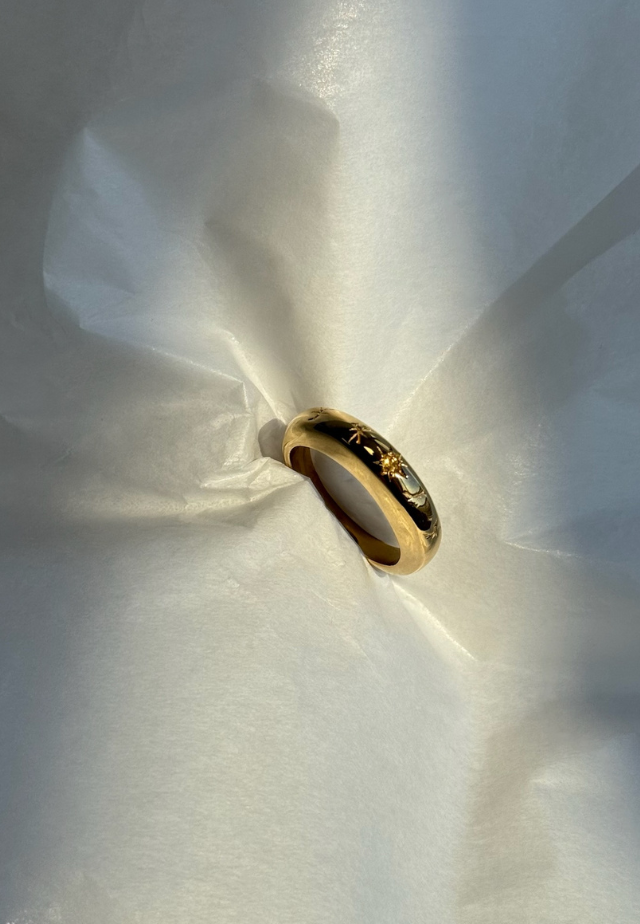
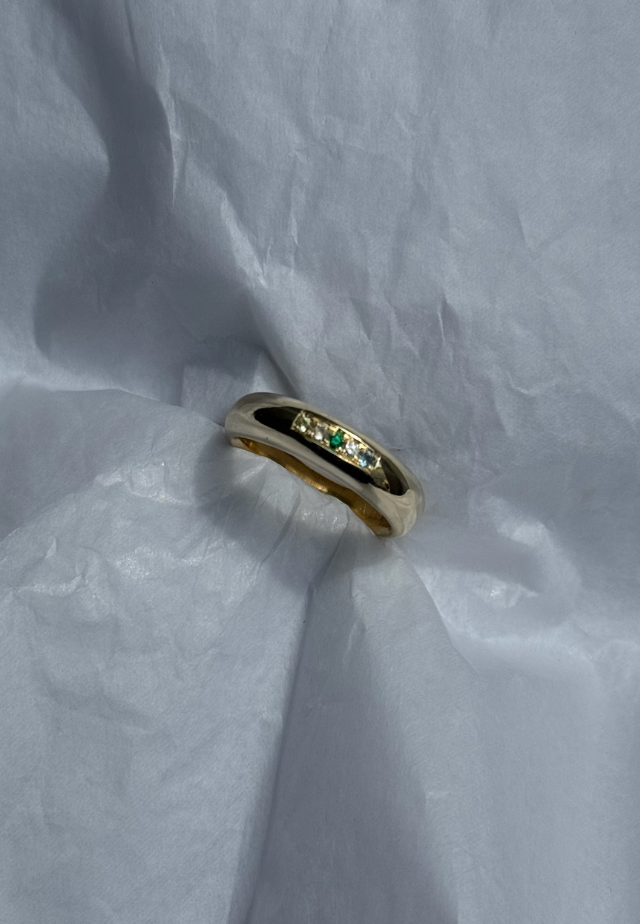
Better finish
Shape refined. Edges softened and balanced. Fully glossed inside and out.
A well-finished ring feels completely different.
The dome is even and intentional. The inner band is smooth and comfortable to wear. The surface reflects light cleanly, giving that polished, professional look.
It’s not about changing the design. It’s about enhancing what you’ve already created.

Why finishing matters in ring making
In traditional jewellery making, finishing is where craftsmanship really shows.
Even the simplest band can feel elevated with the right finish, while a complex design can fall flat without it.
Finishing:
- Enhances the shape and proportions of your ring
- Removes scratches and imperfections from carving
- Improves comfort, especially on the inside of the band
- Creates a high-shine, professional surface
It’s the stage that brings everything together.
How to finish your wax ring properly
1. Start with shaping
Use your coarse sandpaper to refine the overall shape of your ring.
This is where you:
- Even out the band
- Refine the dome or profile
- Smooth any uneven edges
Take your time here. The better your base shape, the better your final finish.
2. Smooth and refine
Move onto the finer buffing sandpaper to remove scratches left by the coarse sanding.
This step is about:
- Smoothing the surface
- Perfecting the curves
- Preparing the ring for glossing
Work gradually through the grits. Skipping ahead will leave scratches behind.
3. Gloss to finish
This is the step most people rush, but it makes the biggest difference.
Using your knife, gently gloss the surface of the wax to remove the final micro-scratches and create a smooth, polished finish.
This is what gives your ring that:
- Clean, light-reflecting surface
- Soft, tactile feel
- Professional look once cast in metal
The difference is in the details
Finishing is where your ring really comes to life.
It complements the outer shape, improves the feel on the hand, and adds a level of tactility that turns your piece into something you’ll want to wear every day.
Follow our glossing tutorial, take your time, and trust the process.
Because when it comes to ring carving, the smallest changes make the biggest difference.
It’s the stage that brings everything together.